初始化工程
创建项目
1
2
| pnpm init
pnpm install vitepress -D
|
在项目根目录下创建目录 docs, 并在 docs 目录中创建 index.md 文件 , 目录结构如下
1
2
3
4
5
6
| doc-vitepress-archetype/
|- docs/
|- index.md
|- public/
|- logo.png
|- package.json
|
在 package.json 中添加项目的启动、打包、预览命令:
1
2
3
4
5
| "scripts": {
"dev": "vitepress dev docs",
"build": "vitepress build docs",
"serve": "vitepress serve docs"
},
|
dev 是开发模式启动 vitepress;build 为打包;serve 是对打包后的结果启动服务预览。命令参数中的 docs 就是上面在根目录创建的目录名 docs。
执行 pnpm dev,启动服务, 若页面显示正常, 则 vitepress 开发环境配置成功
如果你的访问出现了404,那么可能是你的 base 配置出错了
配置 vitepress
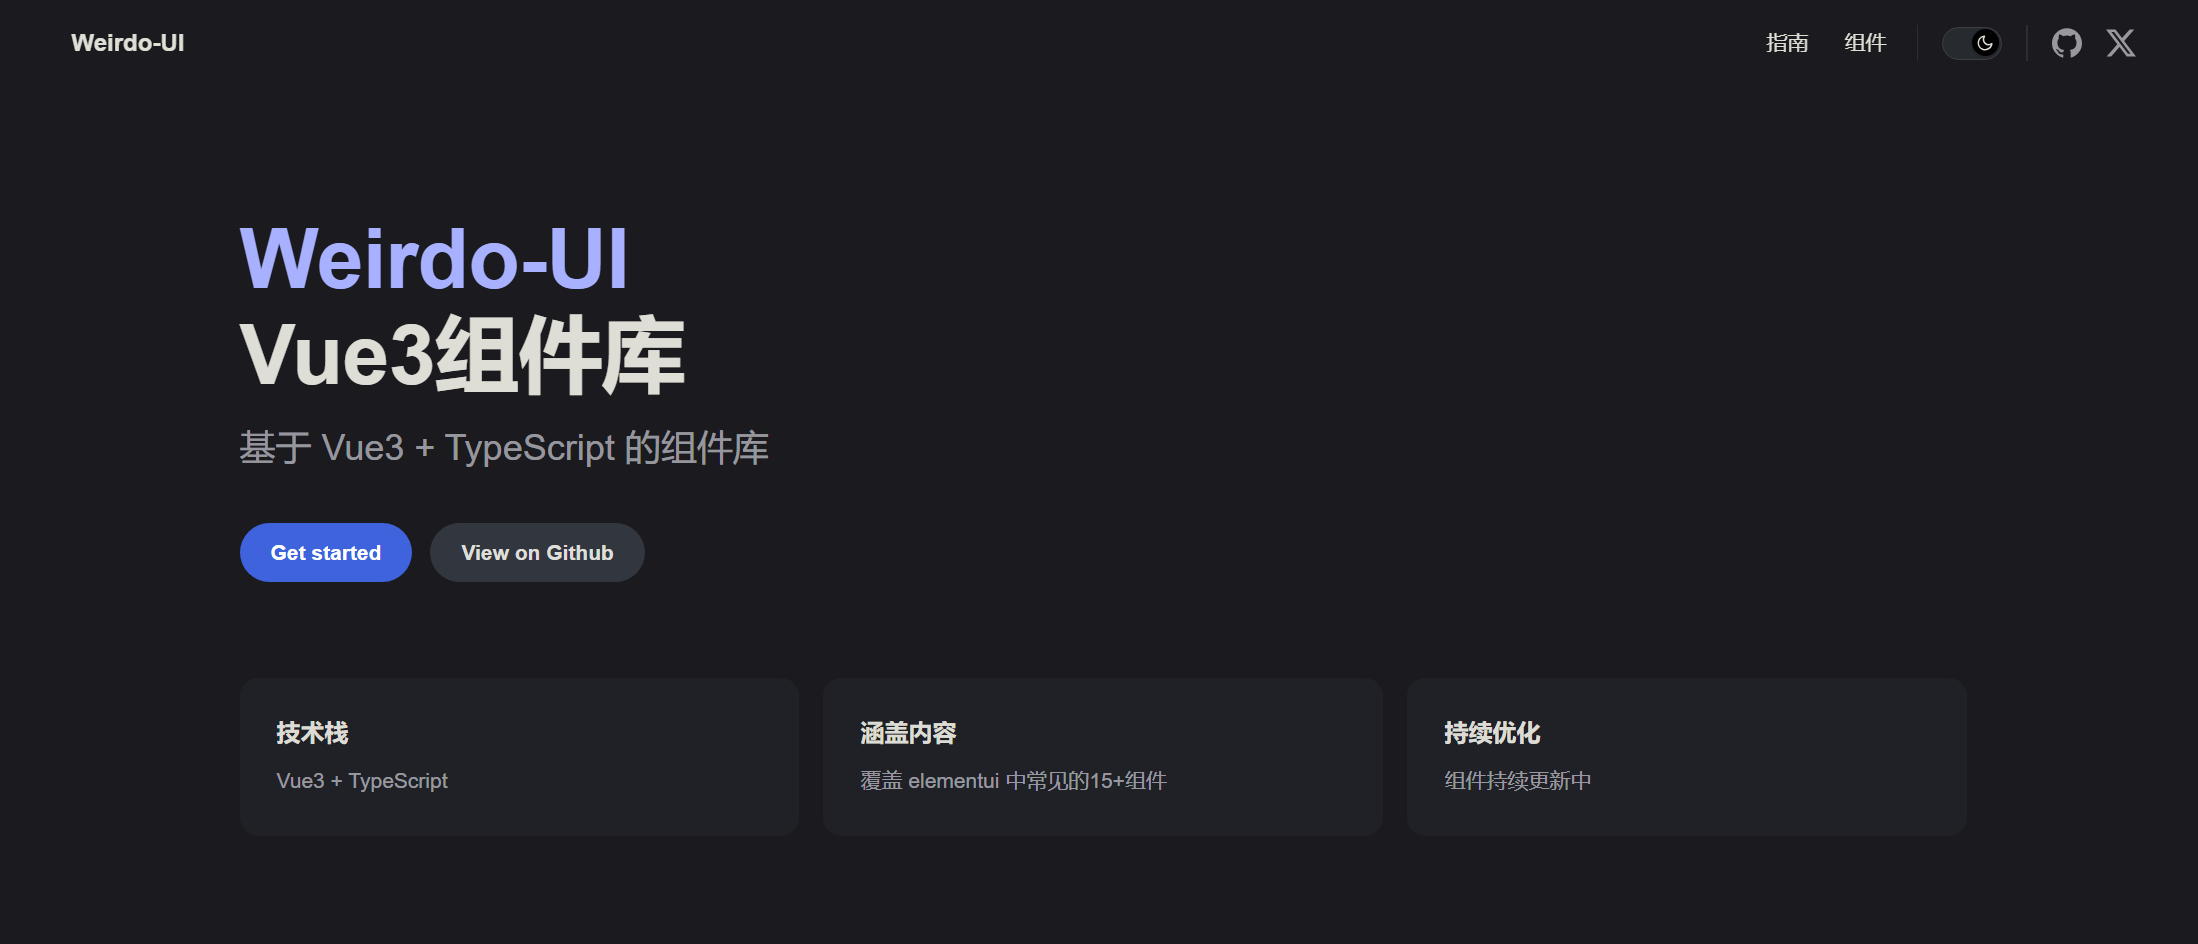
将 docs/index.md 内容修改如下:
组件库项目示例
1
2
3
4
5
6
7
8
9
10
11
12
13
14
15
16
17
18
19
20
21
22
23
24
25
| ---
layout: home
hero:
name: 'Weirdo-UI'
text: 'Vue3组件库'
tagline: 基于 Vue3 + TypeScript 的组件库
actions:
- theme: brand
text: Get started
link: /components/button
- theme: alt
text: View on Github
link: /api-examples
features:
- title: 技术栈
details: Vue3 + TypeScript
- title: 涵盖内容
details: 覆盖 elementui 中常见的15+组件
- title: 持续优化
details: 组件持续更新中
---
|
在 docs 目录下新建目录 .vitepress,在该目录中创建 config.ts 文件:
组件库项目示例
1
2
3
4
5
6
7
8
9
10
11
12
13
14
15
16
17
18
19
20
21
22
23
24
25
26
27
28
29
30
31
32
33
34
35
36
37
38
39
40
41
42
43
44
45
46
47
48
49
50
51
52
53
54
55
56
57
58
59
60
61
62
63
64
65
66
67
68
69
70
71
72
73
74
75
76
| import { defineConfig } from 'vitepress'
import { containerPreview, componentPreview } from '@vitepress-demo-preview/plugin'
import { fileURLToPath, URL } from 'node:url'
export default defineConfig({
title: 'Weirdo-UI',
description: 'A VitePress Site',
vite: {
resolve: {
alias: {
'@': fileURLToPath(new URL('../../src', import.meta.url))
}
}
},
themeConfig: {
nav: [
{ text: '指南', link: '/guild/index' },
{ text: '组件', link: '/components/button' }
],
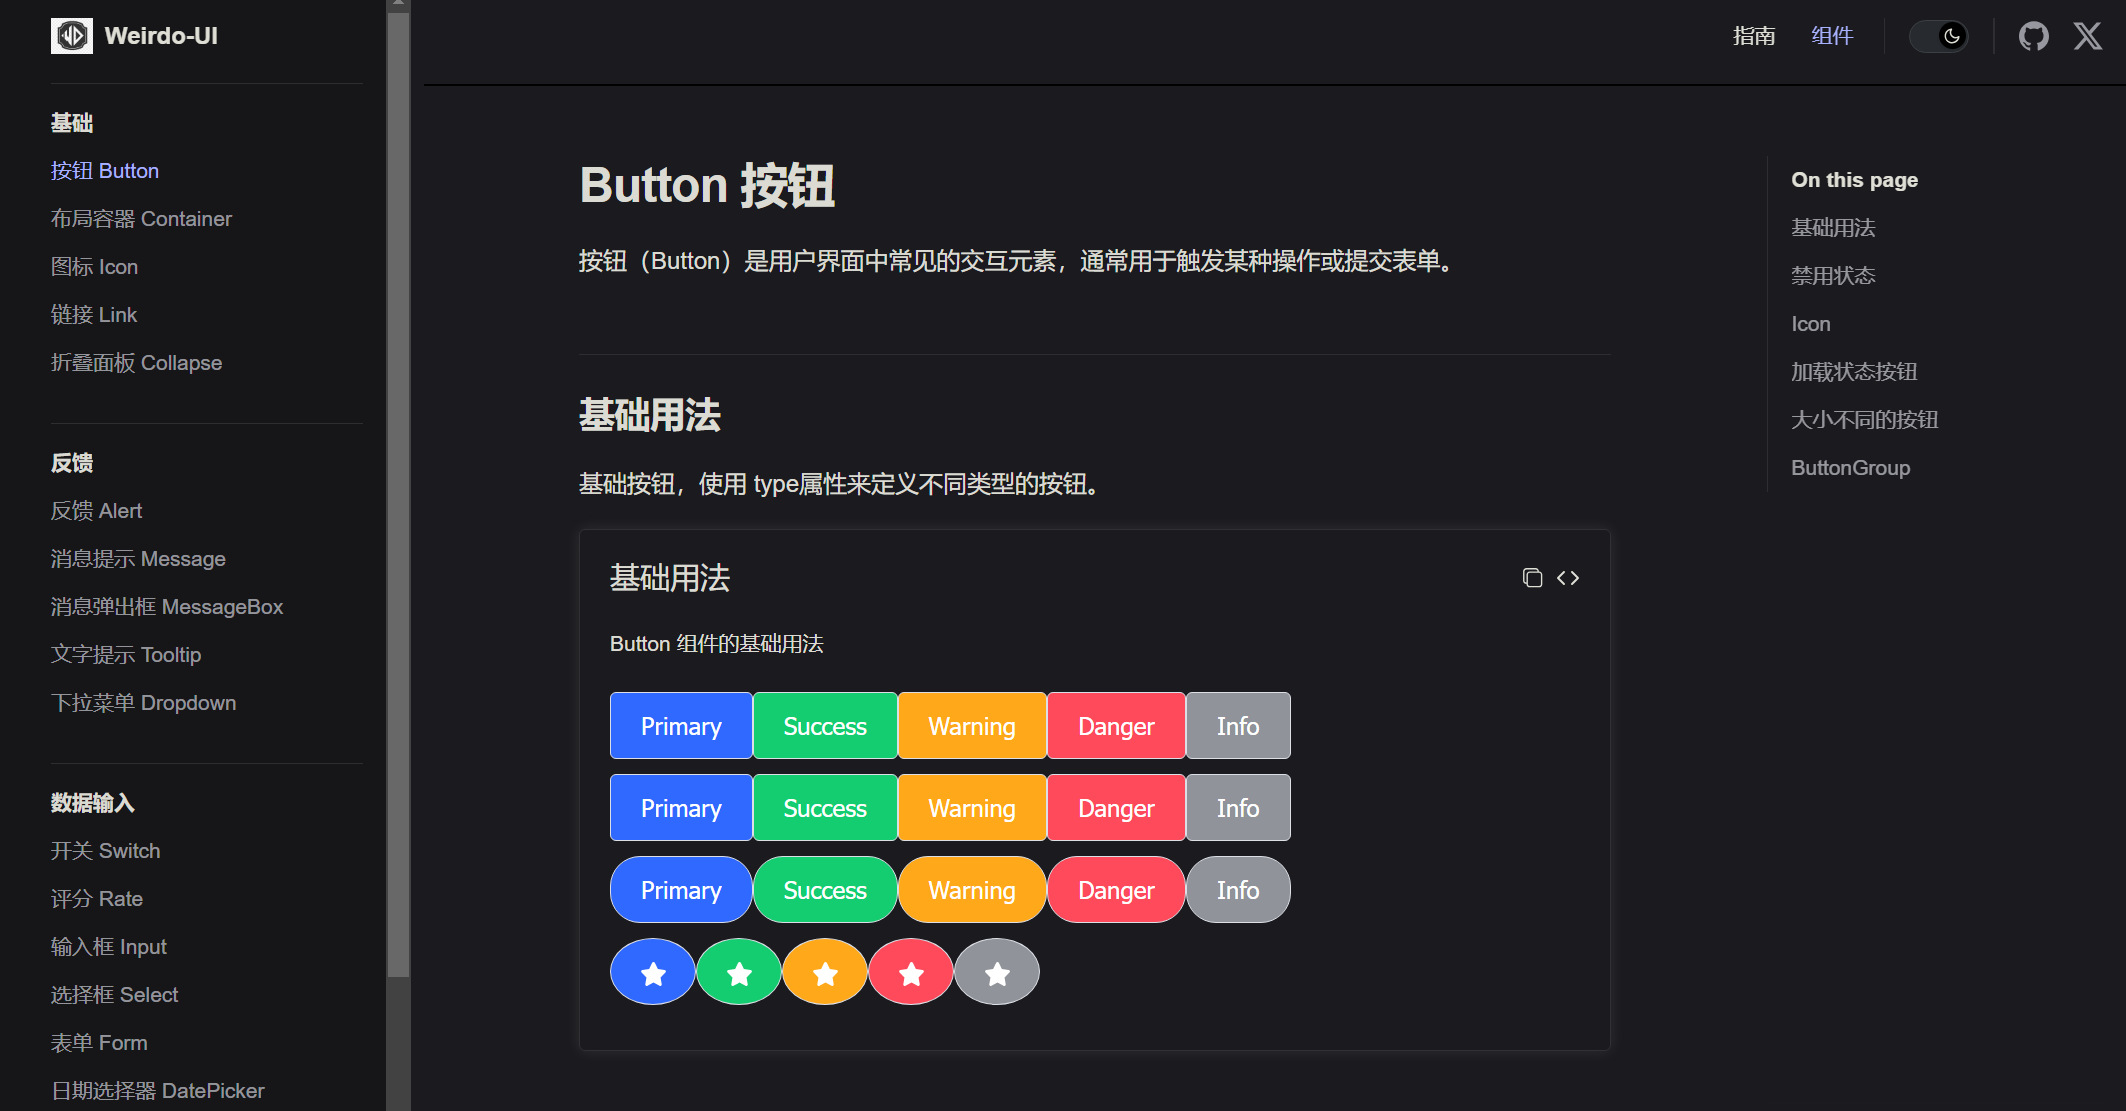
sidebar: [
{
text: '基础',
items: [
{ text: '按钮 Button', link: '/components/button' },
{ text: '布局容器 Container', link: '/components/container' },
{ text: '图标 Icon', link: 'components/icon' },
{ text: '链接 Link', link: '/components/link' },
{ text: '折叠面板 Collapse', link: '/components/collapse' }
]
},
{
text: '反馈',
items: [
{ text: '反馈 Alert', link: '/components/alert' },
{ text: '消息提示 Message', link: '/components/message' },
{ text: '消息弹出框 MessageBox', link: '/components/messagebox' },
{ text: '文字提示 Tooltip', link: '/components/tooltip' },
{ text: '下拉菜单 Dropdown', link: '/components/dropdown' }
]
},
{
text: '数据输入',
items: [
{ text: '开关 Switch', link: 'components/switch' },
{ text: '评分 Rate', link: 'components/rate' },
{ text: '输入框 Input', link: 'components/input' },
{ text: '选择框 Select', link: 'components/select' },
{ text: '表单 Form', link: '/components/form' },
{ text: '日期选择器 DatePicker', link: 'components/datepicker' }
]
}
],
socialLinks: [
{ icon: 'github', link: 'https://github.com/2WeirDo/weirdo-ui' },
{
icon: 'x',
link: 'https://2weirdo.github.io/',
ariaLabel: 'Blog'
}
],
logo: '/logo.png',
},
markdown: {
config(md) {
md.use(containerPreview)
md.use(componentPreview)
}
},
base: '/weirdo-ui/'
})
|
启动后, 效果如下
编写 demo
封装一个组件,将 demo 代码的语言、路径传递给该组件,然后在 MD 文档中使用该组件
比如
1
| <preview path="../demo/Button/Basic.vue" title="基础用法" description="Button 组件的基础用法"></preview>
|
集成 @vitepress-demo-preview : 支持区块内的方式展示 demo 和示例代码
1
| pnpm add @vitepress-demo-preview/component @vitepress-demo-preview/plugin
|
修改 docs/.vitepress/config.ts,添加 markdown 配置:
上方已经写过
在 .vitepress 下新建目录 theme,并在 theme 目录中创建 index.ts , 目的是引入组件
1
2
3
4
5
6
7
8
9
10
11
12
13
14
15
16
17
18
19
20
21
22
23
|
import DefaultTheme from 'vitepress/theme'
import {
AntDesignContainer,
ElementPlusContainer,
NaiveUIContainer
} from '@vitepress-demo-preview/component'
import '@vitepress-demo-preview/component/dist/style.css'
import { library } from '@fortawesome/fontawesome-svg-core'
import { fas } from '@fortawesome/free-solid-svg-icons'
import '../../../src/styles/index.css'
import './index.css'
library.add(fas)
export default {
...DefaultTheme,
enhanceApp({ app }) {
app.component('demo-preview', NaiveUIContainer)
}
}
|
接下来就可以在组件文档中编写demo了
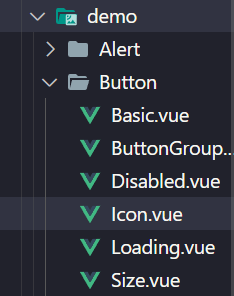
在 docs 目录下创建 demo 目录,该目录存放文档中编写的demo, 比如 demo/Button/Basic.vue或者demo/Button/Icon.vue等等
这里的.vue文件中里面拿到的button组件或者Icon组件都是 src/components 目录下拿到的, 比如 Icon.vue
1
2
3
4
5
6
7
8
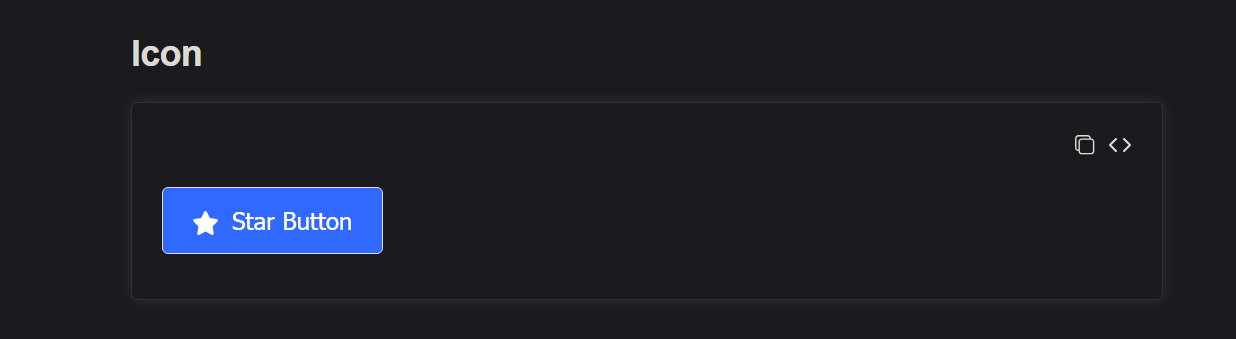
| <script setup>
import Button from '@/components/Button/Button.vue'
</script>
<template>
<div class="icon block">
<Button icon="star"> Star Button </Button>
</div>
</template>
|
在 docs/compnents/button.md 中使用该 Demo:
这是整个 button 页面
1
2
3
4
5
6
7
8
9
10
11
12
13
14
15
16
17
18
19
20
21
22
23
24
25
26
27
28
29
30
31
| ---
title: Button
description: Button组件文档
---
# Button 按钮
按钮(Button)是用户界面中常见的交互元素,通常用于触发某种操作或提交表单。
## 基础用法
基础按钮,使用 type属性来定义不同类型的按钮。
<preview path="../demo/Button/Basic.vue" title="基础用法" description="Button 组件的基础用法"></preview>
## 禁用状态
<preview path="../demo/Button/Disabled.vue" title="基础用法" description="Button 组件的基础用法"></preview>
## Icon
<preview path="../demo/Button/Icon.vue"></preview>
## 加载状态按钮
<preview path="../demo/Button/Loading.vue"></preview>
## 大小不同的按钮
<preview path="../demo/Button/Size.vue"></preview>
## ButtonGroup
|
我们只展示icon的部分, 效果如下
同理, 其余的组件也可以通过创建 demo 来自定义你想显示的内容 ~~
部署至 GitHub pages
由于我原先已经创建了一个博客并部署到 GitHub pages 上, 所以我目前要做的是将这个组件库文档部署到此前项目的子域名中
在 .vitepress / config.ts 中添加修改 base (前文已经写了)
1
| base: '/weirdo-ui/' // 这里是为了后面部署到 github pages 上要用的路径
|
这里的 weirdo-ui 就是我们的路径后缀

现在我们要在github中进行操作啦~
vitepress官网给我们提供了一个脚本文件deploy.sh , 我们在项目根目录下创建 deploy.sh
我们只需要修改路径为自己项目的路径即可
1
2
3
4
5
6
7
8
9
10
11
12
13
14
15
16
17
18
19
| #!/usr/bin/env sh
set -e
pnpm run docs:build
cd docs/.vitepress/dist
git init
git add -A
git commit -m 'deploy'
git push -f git@github.com:2WeirDo/weirdo-ui.git master:code
cd -
|
code 是我要部署的远程分支, 这里尽量不要写 main, 因为你原本 git 的历史都在 main 上(大概率), 否则会被覆盖掉
先在 github 上创建一个新的分支, 这里我创建的就是 code
然后将项目代码推送到 github 上
回到编辑器中, 执行 deploy.sh
推送完成后, 在组件库项目的此页面选择你部署的分支 (这里就是 code), 然后点击 save
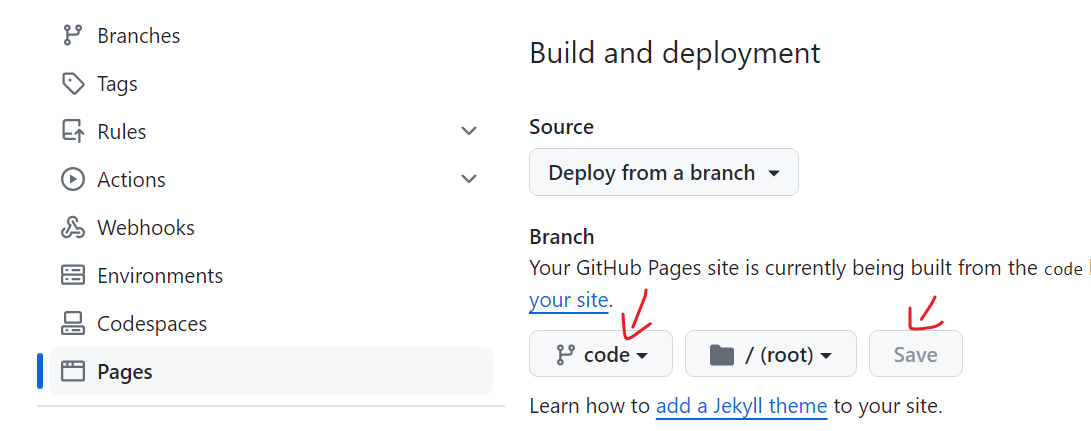
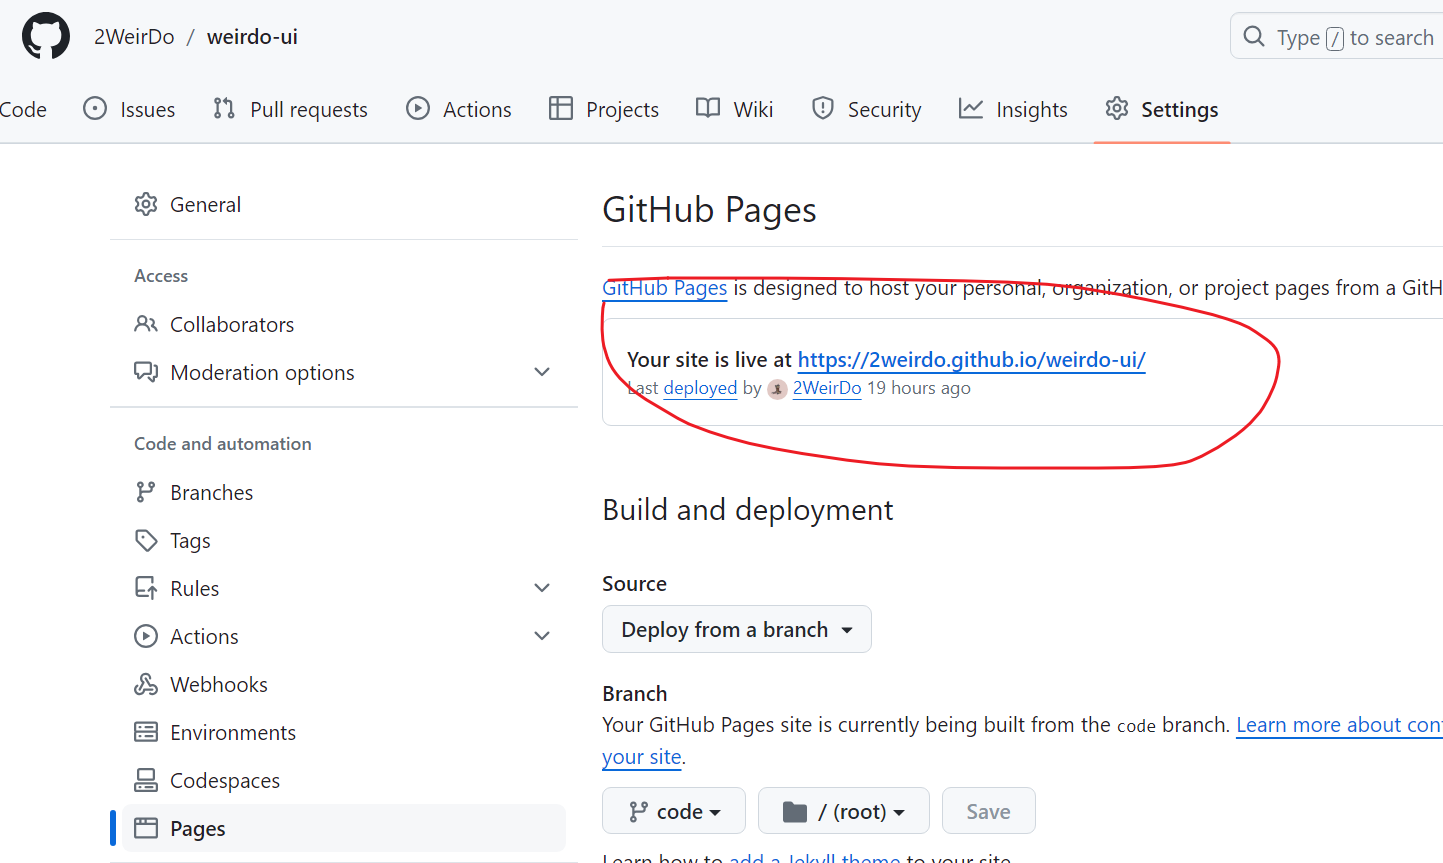
等待两分钟, 你就可以在这里访问你的网站了~~
优化 (持续更新)
如果你同时修改了代码和vitepress文档, 可以在deploy.sh中添加 push代码到main分支上的逻辑
1
2
3
4
5
6
7
8
9
10
11
12
13
14
15
16
17
18
19
20
21
22
| #!/usr/bin/env sh
set -e
pnpm run docs:build
cd docs/.vitepress/dist
git init
git add -A
git commit -m 'deploy'
git push -f git@github.com:2WeirDo/weirdo-ui.git master:code
cd ../../../
git add .
git commit -m 'feat: 更新文档'
git push origin master:main
|
当然你也完全可以不需要这样做~~
并且你可以添加 script 字段到package.json (我的deploy.sh是放到vitepress-starter这个文件夹下的)
1
| "docs:deploy": "sh vitepress-starter/deploy.sh",
|
现在我们就可以直接输入 pnpm docs:deploy 提交代码了
问题一: 使用 git pull –rebase origin main 导致仓库文件不见了, 我应该怎么返回到上一步的git ?
使用 git reset –hard 命令将 HEAD 指针移动到上一步的提交上
问题 : git pull origin main 报错怎么办 ?
fatal: refusing to merge unrelated histories
这个错误通常发生在两个不相关的 Git 历史尝试合并时,它通常是由于在本地分支和远程分支之间存在不同的提交历史引起的。
使用 --allow-unrelated-histories 选项来解决这个问题。
1
| git pull origin main --allow-unrelated-histories
|
参考文章
https://juejin.cn/post/7159085595103821855
https://blog.csdn.net/Dandrose/article/details/131107730